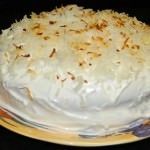
Pumpkins and more pumpkins: Holiday Treat

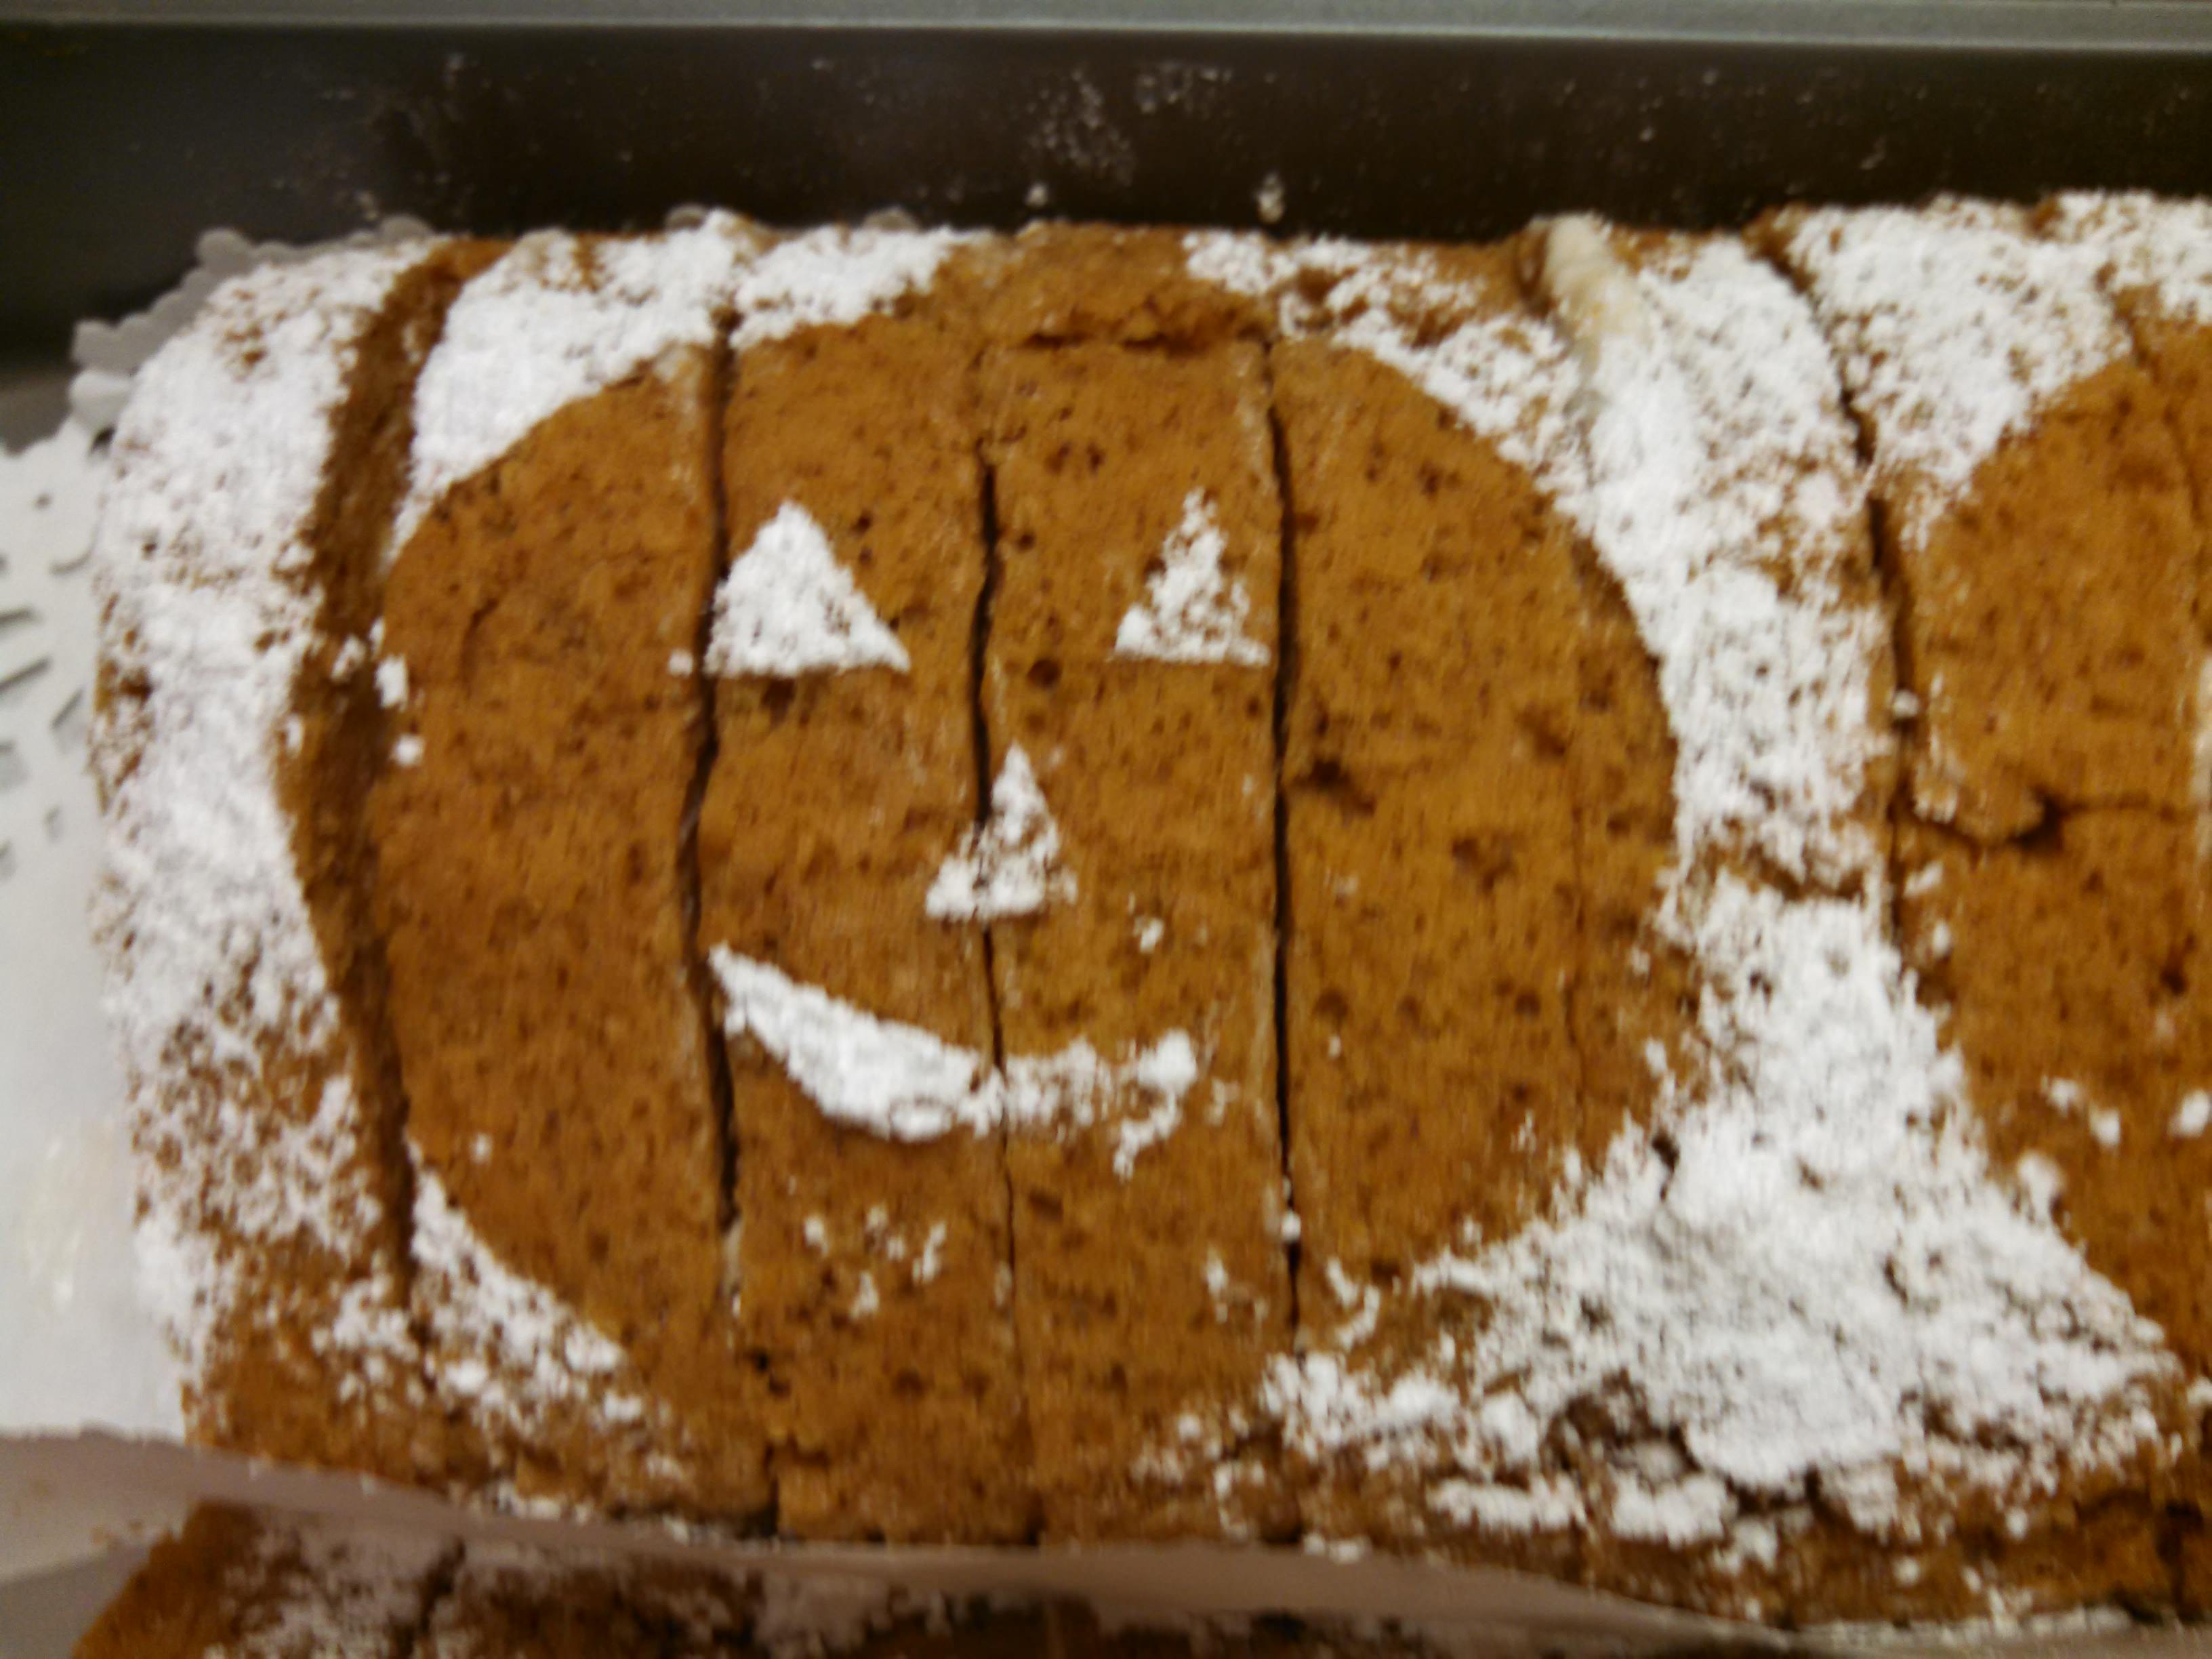
Pumpkin Roll ready for Halloween
Pumpkins for Halloween continue into pumpkin pies, breads, cakes, cookies and muffins for Thanksgiving and Christmas. You don’t think of a pumpkin dessert for New Year’s Eve.
At Nienaber’s Farm Market
The Pumpkin Roll recipe is a favorite of many community cookbooks or in the Sunday newspaper recipes. I have used it for several years as it was given to me by a friend. I finally read the label on Libby’s® Pumpkin l and there it was. So I give Libby’s credit for this easy and attractive dessert. Of course over time, cooks have tweaked it to their taste of hand-me-down recipes.
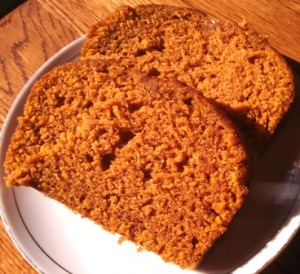
Baked Pumpkin Roll Cake, a sponge cake texture
HOW-TO DO A PUMPKIN ROLL
The cake of the pumpkin roll is a sponge cake; it has a light, springy texture, like a sponge. The batter is baked into a thin layer in a jelly roll pan. Many sponge cakes use eggs as the leavening agent, this recipe has 3 eggs plus baking powder and baking soda. Having ingredients at room temperature is important habit for baking. If using separated eggs as in some sponge cakes, the egg whites whip to more volume at room temperature.
-
-
Jelly Roll pan prepared with parchment paper, greased and floured
-
-
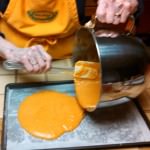
Pouring pumpkin roll batter into the prepared jelly roll pan.
-
-
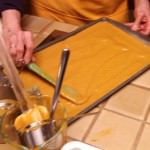
Leveling batter before baking
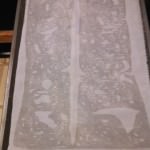
It is important to have the 15 1/2 x 10 1/2 x 1-inch baking pan greased and lined with parchment paper also greased and floured before using. This enables the thin flat cake to come out of the pan for easy rolling. I use a damp cloth to turn the cake onto, roll up and cool in the refrigerator for one hour. Don’t get the cloth too damp as it will tear up the cake. Some recipes advise using flour or powdered sugar to turn the cake on and let it cool at room temperature. When removing the sponge cake from the oven, place the pan on a wire rack for 1 minute to cool and slightly pull away from the sides of the pan; run a knife around the edge. Turn the cake onto the prepared cloth, peel the parchment paper off.
-
-
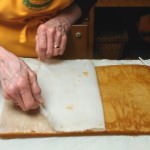
Removing parchment paper after baking.
-
-
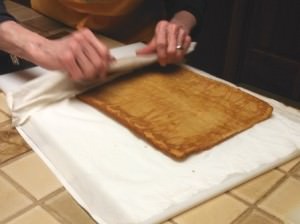
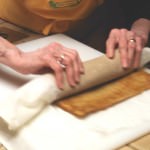
Preparing cake into a roll cooling in refrigerator.
-

-
Pumpkin roll cooling in refrigerator 1 hour to set roll.
The short end of the cake is rolled up in the cloth to set the shape as well as to let it cool. I cool in the pumpkin roll in the refrigerator 1 hour, then remove and unroll the cake to be filled. Spread the filling within 1/2 inch of the edges. It will fill to the edge as the cake is rolled up. Carefully roll up the cake and filling, pulling the cloth from the cake. Place the pumpkin roll on a serving platter, seam side down. Powder sugar can be sprinkled on top just before serving. The sugar will dissolve into the cake if sprinkled too soon before serving.
-
-
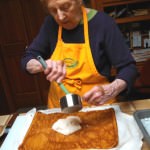
Adding the cream cheese filling
-
-
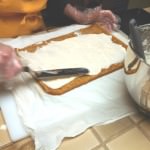
Covering cake with the filling.
-
-
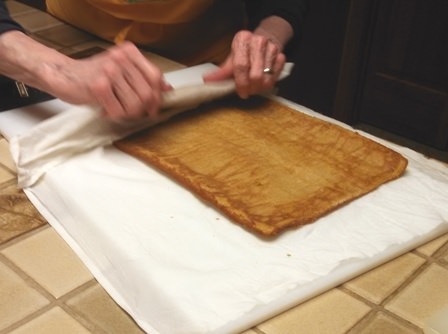
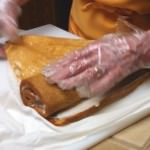
Rolling the Pumpkin Cake Roll
I do not make 2 pumpkin rolls as a rule. Since we had a Halloween Party to attend, I doubled the recipe and made the 2 rolls, putting them in a 9 x 13 cake pan for carrying. They were a hit in the dessert line, just add a bit of whipped cream. One roll will make 10, 1/2 inch slices.

2 Pumpkin Rolls Ready for the Halloween Party
Pumpkin Roll
Julia Ann
A popular autumn dessert of moist Pumpkin Cake Roll filled with cream cheese and powder sugar filling.
Prep Time 45 minutes mins
Cook Time 15 minutes mins
Total Time 1 hour hr
Course Dessert
Cuisine American
- CAKE
- 3/4 cup all-purpose flour
- 1/2 teaspoon baking powder
- 1/2 teaspoon baking soda
- 1/2 teaspoon ground cinnamon
- 1/2 teaspoon ground cloves
- 1/4 teaspoon ground nutmeg
- 1/4 teaspoon salt
- 3 eggs
- 1 cup sugar
- 2/3 cup pumpkin puree
- 1 teaspoon lemon juice
- FILLING
- 6 ounces cream cheese
- 1 teaspoon vanilla extract
- 1/2 cup butter
- 1 cup sifted powdered sugar
Jelly roll pan 10 x 15, greased, lined with parchment paper, greased and floured.
Preheat over to 375 F.
Sift together all the dry ingredients, set aside.
In large mixer bowl, combine eggs, sugar, pumpkin and lemon juice.
Beat on high speed for 5 minutes.
Gradually add dry ingredients into the egg/sugar mixture beating until smooth.
Pour into the prepared pan.
Bake 15 minutes at 375 F.
After baking flip cake on damp cloth, roll up from short end, cool in refrigerator 1 hour.
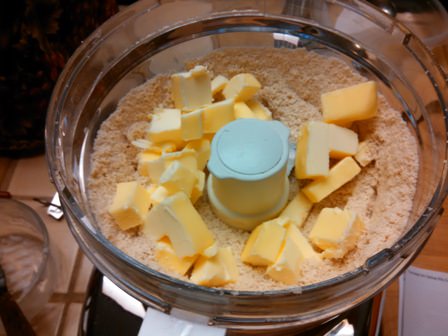
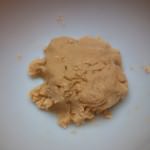
Combine cream cheese, vanilla, butter and powdered sugar.
Mix until blended and smooth.
Assemble Pumpkin Roll:
Unroll the cake on the cloth.
Spread filling on the cake leaving 1/2 inch from the edges.
Reroll the cake, peeling away the cloth.
Lift roll on serving plate with the seam side down.
Sprinkle with powdered sugar just before serving sliced cake.
This recipe can be doubled to make 2 pumpkin rolls. 2 1/2 cups batter will be needed to fill the 2 jelly-roll pans and 1 3/4 cups of filling for each roll.--------------
Julia Ann and cookbookinabox® in partnership with Netta Belle’s Choice® bring you great recipesfor your cooking experience. ©2007-2018Netta Belle’s Choice® The Art of Gourmet Cookery® cookbookinabox® “Reg. U.S. Pat. & Trdmk. Off.” Reg. “Trade-marks Canadian Intellectual Property Office. “ Netta Belle’s Choice® The Art of Gourmet Cookery® cookbookinabox® All rights reserved.
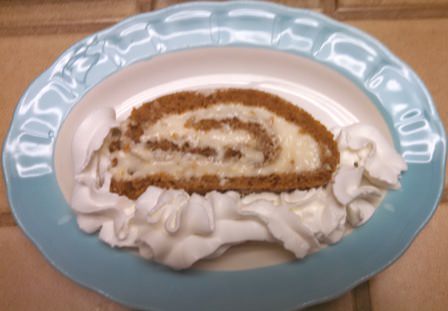
Serving of Pumpkin Roll with Whip Cream
Enjoy these pumpkin desserts.
cookbookinabox – Pumpkin Bread
Simply Recipes – Old Fashioned Pumpkin Pie
Sally’s Baking Additions – Whole Wheat Mini Pumpkin Muffins
 Julia Ann cookbookinabox® in partnership with Netta Belle’s Choice® bring you great recipes for your cooking experience. ©2007-2018 Netta Belle’s Choice® The Art of Gourmet Cookery cookbookinabox® “Reg. U.S. Pat. & Trdmk. Off.” Reg. “Trade-marks Canadian Intellectual Property Office. “ Netta Belle’s Choice® The Art of Gourmet Cookery® cookbookinabook. All rights reserved.